Configuring the Google Analytics Adapter
|
How to: |
|
Reference: |
This section describes how to configure the Google Analytics Adapter.
Procedure: How to Configure the Google Analytics Adapter
- Clear the cookies from the web browser that will be used to start the WebFOCUS Reporting Server Web Console.
- Access the WebFOCUS Reporting Server Web Console using the host name and port that you specified in the AUTHORIZED JAVASCRIPT ORIGINS field of the Google project.
- From the
Web Console sidebar, click Connect to Data.
or
From the Data Management Console, expand the Adapters folder.
In the DMC, the Adapters folder opens. In the Web Console, the Adapters page opens with two lists, Configured Adapters and Available Adapters.
- Find the adapter on the Available list in the Web Console or expand the Available folder in the DMC,
if it is not already expanded.On the Web Console, you can select a category of adapter from the drop-down list or use the search option (magnifying glass) to search for specific characters.
- Right-click the Google Analytics node
and select Configure.
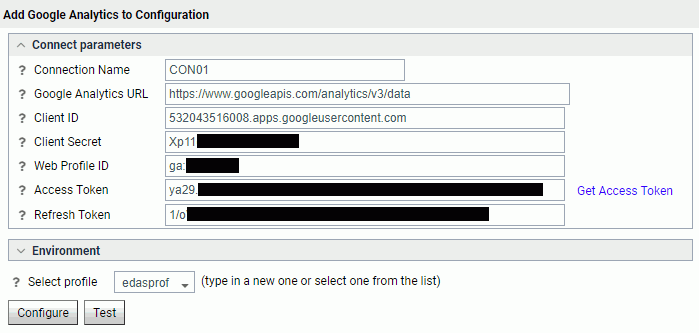
The Add Google Analytics to Configuration pane opens, as shown in the following image.

- Enter the values for the Client ID and Client Secret
as defined by the Client ID and Client secret respectively in the
Google project.
For more information, see How to Create a Google Project.
- Enter the value for the Web Profile ID as defined by
the View ID in the Google Analytics Reporting View Settings for
the selected website.
This value is prefixed by ga. For example:
ga:87878787
For more information, see How to Obtain the Web Profile ID.
- Click the Get Access Token link.
A Google Sign In page opens, as shown in the following image.
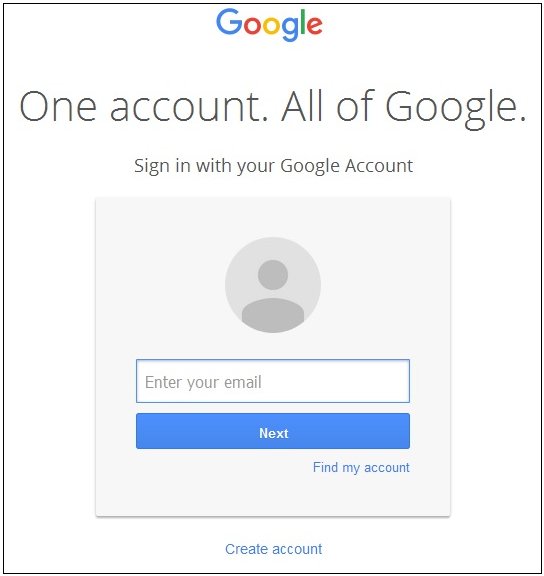
- Enter an email address for the Google account that has
administrative rights to the Google Analytics environment, and then
click Next.
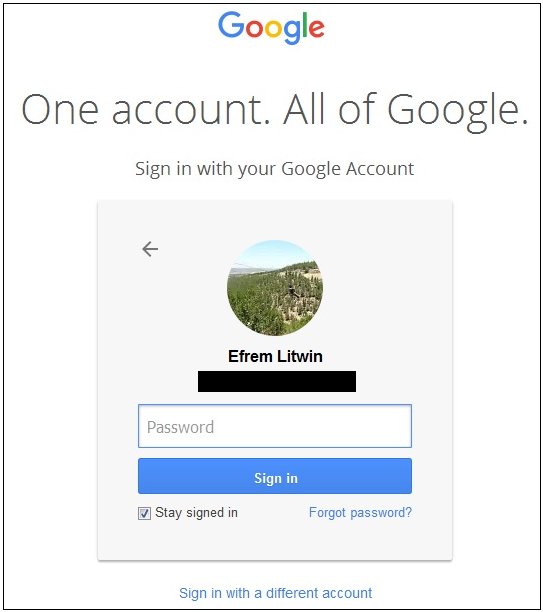
- Enter a valid password for the Google account, and then
click Sign In.
The View your Google Analytics data consent screen opens, as shown in the following image.

- Click Allow.
You are returned to the Add Google Analytics to Configuration pane, where the Access Token field and Refresh Token field are now populated, as shown in the following image.
- Click Configure.
The Google Analytics Adapter is added to the configured Adapters list in the navigation pane.
Reference: Connection Attributes for Google Analytics
The following list describes the connection attributes for the Google Analytics Adapter.
- Connection Name
-
Logical name used to identify this particular set of connection attributes. The default is CON01.
- Google Analytics URL
-
The URL of the Google Analytics API request. The default value is:
https://www.googleapis.com/analytics/v3/data
- Client ID
-
The value that identifies your application to Google Analytics.
Obtain this value using the following steps:
- Go to:
https://cloud.google.com/console/project
- Click on the Project Name for the Google Analytics Adapter application that was previously created.
- Click APIs & auth in the left pane.
- Click Credentials in the left pane.
- Use Client ID in the Client ID for web application section.
- Go to:
- Client Secret
-
The value which identifies your application to Google Analytics. This value is used in conjunction with Client ID.
Obtain this value using the following steps:
- Go to:
https://cloud.google.com/console/project
- Click on the Project Name for the Google Analytics Adapter application that was previously created.
- Click APIs & auth in the left pane.
- Click Credentials in the left pane.
- Use Client secret in the Client ID for web application section.
- Go to:
- Web Profile ID
-
The ID that identifies the view (profile) for a Google Analytics account.
Obtain this value using the following steps:
- Go to:
http://www.google.com/analytics
- Sign in with Google credentials that have administrative rights to Google Analytics.
- Click on the website that is to be analyzed (for example, www.informationbuilders).
- Click Admin in the upper-right corner of the screen.
- Click View Settings.
- Look for View ID under Basic Settings.
This value is prefixed by ga. For example:
ga:87878787
- Go to:
- Access Token
-
The value that identifies the user your application is acting on behalf. Click the Get Access Token link to obtain this token and the Refresh Token.
In order for the Get Access Token to complete successfully, the host name used to access the WebFOCUS Reporting Server Web Console must match the host name specified for the Redirect URI in the Google Analytics application.
A Google sign-on screen opens if you are not already logged into a Google account.
A Consent screen opens. Click Allow Access.
If an issue arises when obtaining the Access and Refresh Tokens, clear your browser cache, including cookies.
- Refresh Token
-
The Access Token has a very short lifespan. The Refresh Token is used to obtain a new Access Token during run time.
- Select profile
-
Select a profile from the drop-down list to indicate the level of profile in which to store the connection attributes. The global profile, edasprof.prf, is the default.
If you wish to create a new profile, either a user profile (user.prf) or a group profile if available on your platform (using the appropriate naming convention), select New Profile from the drop-down list and enter a name in the Profile Name field (the extension is added automatically).
Store the connection attributes in the server profile (edasprof).
| WebFOCUS | |
|
Feedback |