Connecting to Data
|
How to: |
The Connect to Data page provides a process for connecting to data and creating a base synonym or cluster synonym. It can be used to create metadata for different types of data sources. Some of options and parameters vary depending on the type of data source. The Connect to Data page enables you to upload data (as described in Uploading Files) or configure an adapter, create a new connection for an adapter, or change adapter connection parameters.
To return to the full console, click X at the top right of the page.
Procedure: How to Use the Connect to Data Page to Configure an Adapter, Create a New Connection, or Change a Connection
In the Server Datasources section of the Connect to Data page, you can perform one of the following tasks.
- To configure a new adapter, click New Datasouce on the menu bar, right-click an adapter on the Available list and click Configure.
The Connection Parameters page opens. Enter the connection parameters.
Note: Connection parameters for each adapter are described in the Adapter Administration manual.
- To add a connection for a configured adapter, right-click an adapter on the Server Datasources list and click Add Connection.
The Add Connection page opens. Enter the connection parameters.
- To change connection parameters, right-click a connection on the Server Datasources list and click Properties.
The Change Connect Parameters page opens. Change the connection parameters.
- To duplicate a connection, right-click a connection and click Duplicate Connection.
The Duplicate Connection page opens with parameters entered for the same adapter and the same server as the original connection. You can use this to connect to a different database than the one in the original connection, or use a different type of security model.
Procedure: How to Import Metadata
After completing the Connection step, you can create synonyms for configured adapters and connections.
- To create synonyms, right-click a connection and click Show local files (for delimited files) or Show DBMS objects from the context menu.
For an SQL adapter, the Available Objects page opens on which you have two options, creating base synonyms or creating a cluster synonym. The following image show the initial view, which is configured for creating base synonyms.
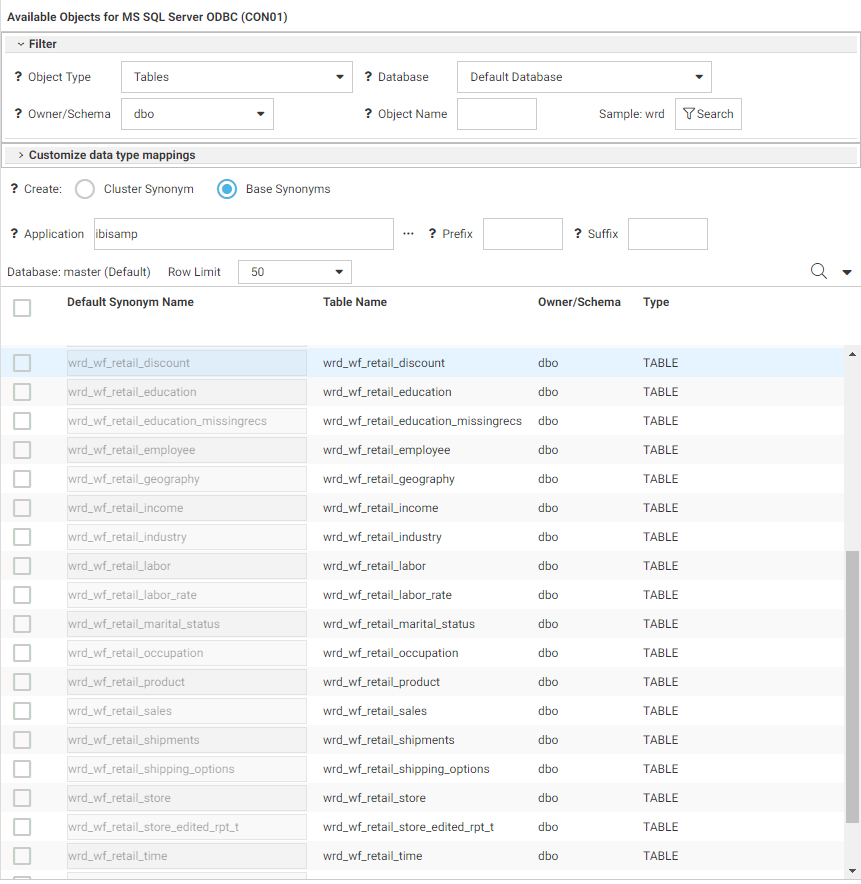
The Show DBMS Objects page has been designed so that you can enter all the parameters needed to create base synonyms or a cluster synonym on a single page.
- For an SQL adapter, the Filter section enables you to select the object type and enter the owner/schema and database from
which to generate the list of objects for selection.
You can use the object name box and Search button to list specific object names.
- To create base synonyms, click the Base Synonyms radio button and click the check box next to the objects for which you want to create synonyms.
When you are finished, click the highlighted Create Base Synonyms button on the ribbon.
- To create a cluster synonym, click the Cluster Synonym radio button and click the check box next to the fact and dimension tables to be part of the cluster.
The DBMS objects list enables you to select objects to add to the cluster and assign them as facts or dimensions.
You can select each fact and each dimension manually, or you can right-click a fact or dimension table name and select one of the following options, which are available if foreign key to primary key information is available in the RDBMS:
- Show Related Dimensions. Displays a report of related dimensions, as shown in the following image.
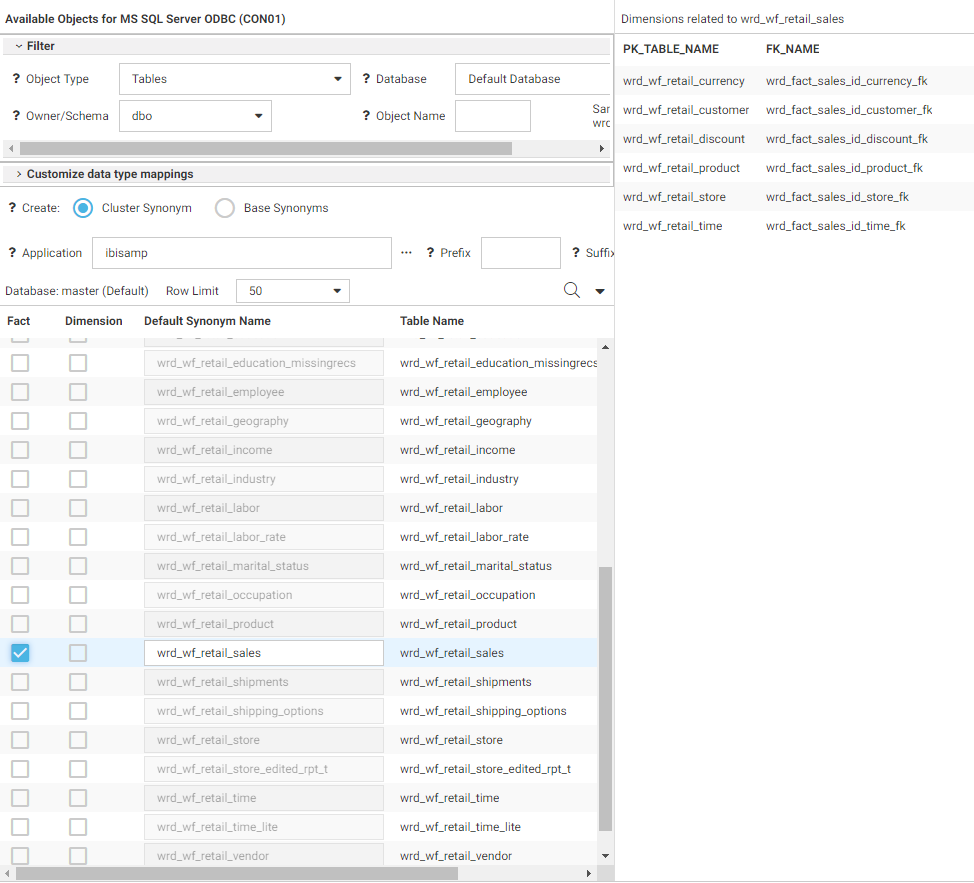
- Add Related Dimensions. Selects all related dimensions automatically.
When you are finished, click the highlighted Create Cluster Synonym button on the ribbon to open the Save As dialog box, so you can save the synonym.
After the synonym is saved, the Applications page opens. You can edit the synonym by right-clicking the synonym on the application tree and clicking Open. For detailed information about enhancing the synonym, see Using Data Assist.
- Show Related Dimensions. Displays a report of related dimensions, as shown in the following image.
The ribbon is shown in the following image:

The first button on the ribbon is the Options menu, from which you can change common adapter settings and run the reports available on the Web Console Connect to Data page. For information, see Managing Adapters.
| WebFOCUS | |
|
Feedback |