Introduction
|
How to: |
When the WebFOCUS GIS Adapter is invoked, one of the first steps it performs is to access the XML definition file (for example, esriconfig.xml). The adapter parses the XML and uses the information provided to generate JavaScript objects and methods that are returned to the web browser. The JavaScript that is returned is vital to the operation of the WebFOCUS GIS Flex Viewer, as well as any browser sessions used for report viewing.
As of WebFOCUS 8, the ESRI Configuration Utility is available as a utility that provides a graphical interface to configure and edit XML definition files.
Procedure: How to Open the ESRI Configuration Utility
The ESRI Configuration Utility is available from the Legacy Home Page or WebFOCUS Home Page. To open the ESRI Configuration Utility:
- Type the
following address in your web browser:
http://server:port/ibi_apps
where:
- server
-
Is the name of the server on which WebFOCUS is installed.
- port
-
Is the number of the port on which the server is listening.
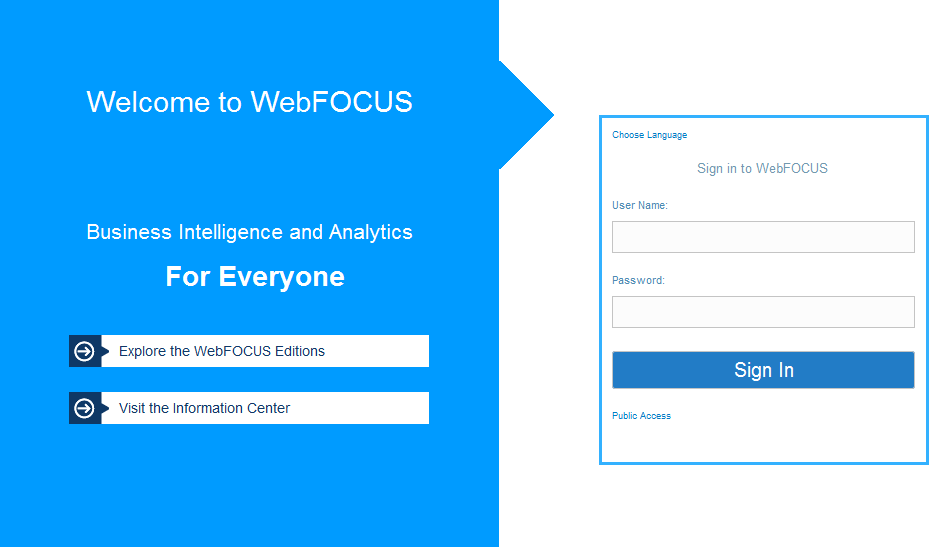
The WebFOCUS Sign-in page opens, as shown in the following image.
- Sign in
using the following credentials:
- User Name: admin
- Password: admin
You can also use a self-service login account to access the ESRI Configuration Utility. For more information, see How to Configure a Self-Service Login Account.
- Launch the ESRI Configuration Utility in one of the following ways:
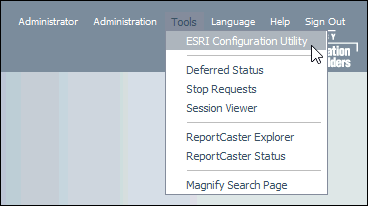
- From the Legacy Home Page, click Tools from the Menu Bar, and select ESRI Configuration Utility.
- From the WebFOCUS Home Page, click the User menu, point to Tools, and then click ESRI Configuration Utility.
The ESRI Configuration Utility dialog opens.
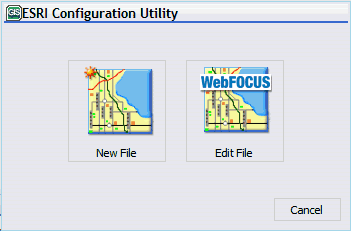
This initial dialog allows you to create a new XML definition file or edit an existing version that is available.
- To create a new XML definition file, perform steps 5 through 7.
- To edit an existing XML definition file, perform steps 8 through 10.
- To create
a new XML definition file, click New File.
The Browse Path dialog opens, as shown in the following image.
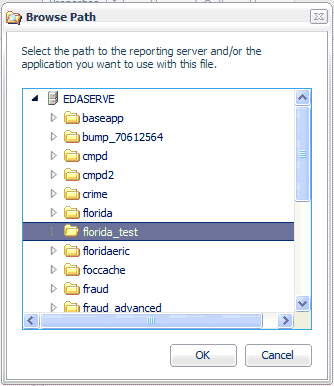
- Select an application folder on the WebFOCUS Reporting Server where the new XML definition file will be located when it is saved.
- Click OK.
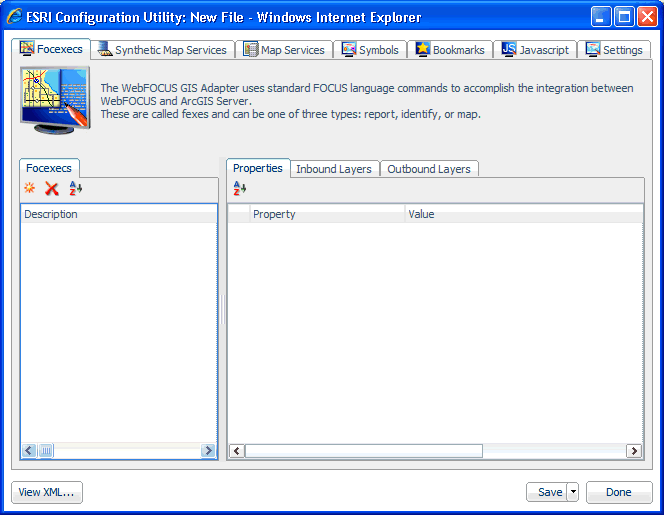
The ESRI Configuration Utility opens for a new XML definition file, as shown in the following image.
- To edit
an existing XML definition file, click Edit File from
the ESRI Configuration Utility dialog box.
The Open dialog displays, as shown in the following image.
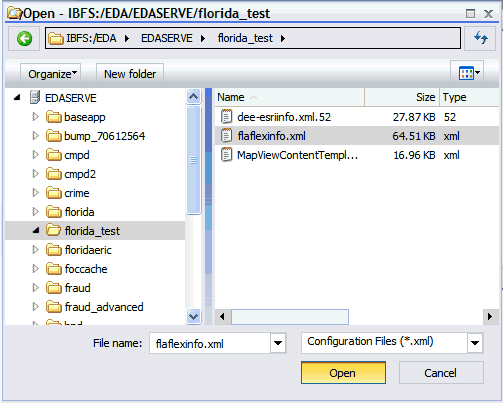
- Browse to an application folder on the WebFOCUS Reporting Server where an existing XML definition file is located.
- Click Open.
The ESRI Configuration Utility opens for the selected XML definition file, as shown in the following image.
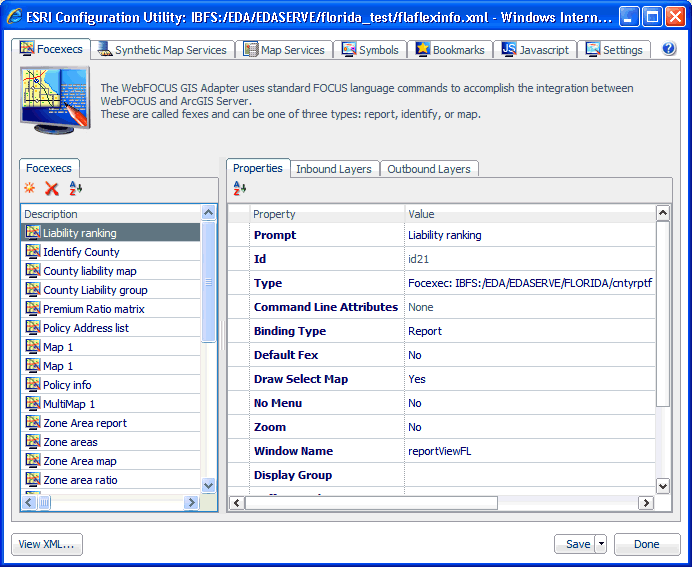
The path to the XML definition file is displayed at the top of the window. For example:

Procedure: How to Configure a Self-Service Login Account
The ESRI Configuration Utility can also be accessed from WebFOCUS using a self-service login account. To configure a self-service login account:
- Log in to the WebFOCUS as an administrator.
- Launch the Security Center.
- Click the Roles tab.
- Click the New
Role button.
The New Role dialog box opens.
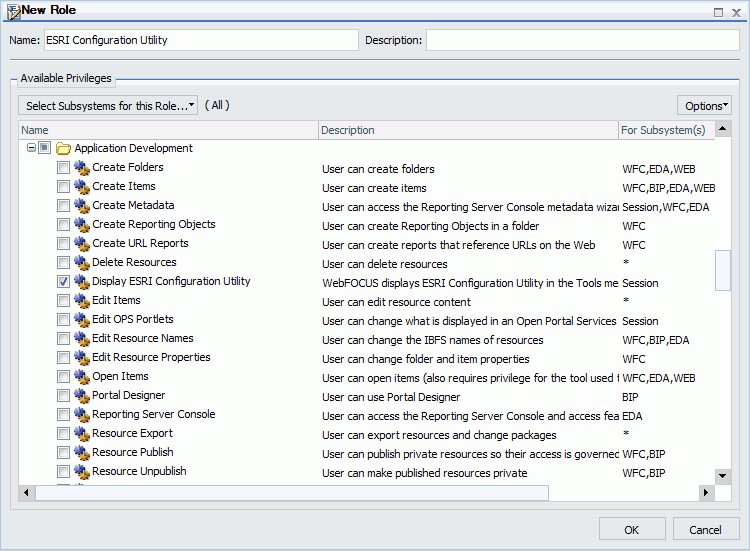
- Type ESRI
Configuration Utility in the Name field and select Display
ESRI Configuration Utility from the list of available privileges,
as shown in the following image:
- Click OK.
The ESRI Configuration Utility role now appears in the Roles list.
- Click the Users & Groups tab.
- Click the New
Group button.
The New Group dialog box opens.
- Populate
the Group Name and Description fields and click OK.
The new group appears in the list Groups list.
- Right-click
the new group, point to Security, and click
Rules.
The Security Rules dialog box opens.
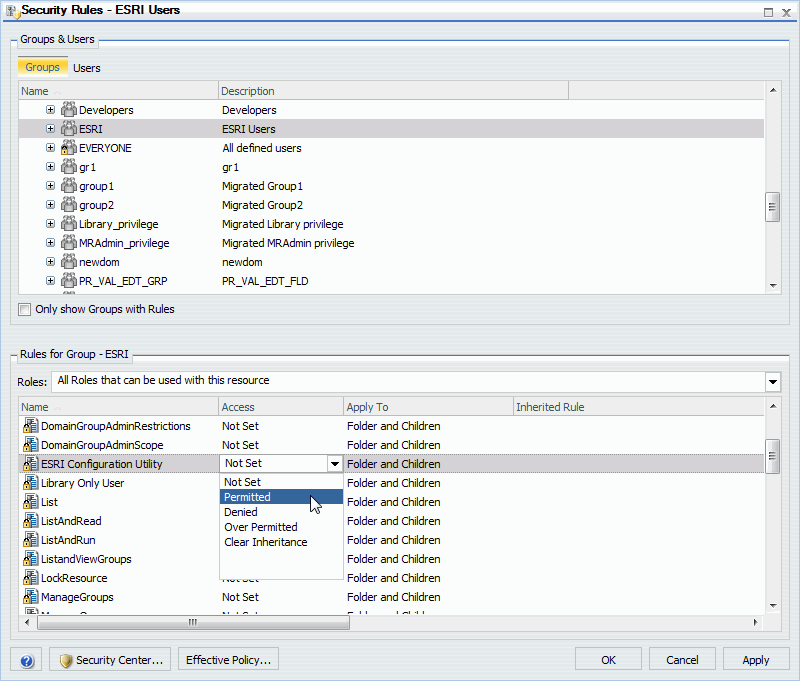
- Select your
new group from the list. In the Roles list, click ESRI
Configuration Utility and select Permitted from
the Access drop-down menu, as shown in the following image.
Click OK.
- In the Security
Center, create a new user and assign this user to the new group
with the ESRI Configuration Utility privileges.
For more specific information on how to use the Security Center to create a new user, see the WebFOCUS Security and Administration manual.
- Log in to WebFOCUS using the new user account.
- Access the ESRI Configuration Utility option from the Menu Bar or User menu, under Tools.
An example of the ESRI Configuration Utility option that is available from the Legacy Home Page is shown in the following image.
| WebFOCUS | |
|
Feedback |