Indexing the Movie File
This section illustrates Magnify Search indexing by feeding the Movie file. The data has already been assigned to Magnify Search Meta Tags and other reserved alias names to create a Magnify Search index library based on the Movie information.
- Open the Movie file
to review all available data.
In App Studio, create a project pointing to the sample directory, ibisamp, if not already created.
- Review the Movie
file (moviemgn.fex).
Note: This file is installed with the WebFOCUS Reporting Server under the ibisamp application directory.
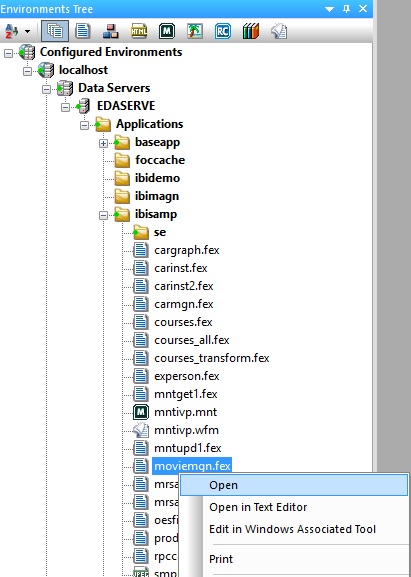
- Right-click the moviemgn.fex file and select Open from the context menu, as shown in the following image.
The Procedure View panel is opened for the moviemgn.fex file, as shown in the following image.
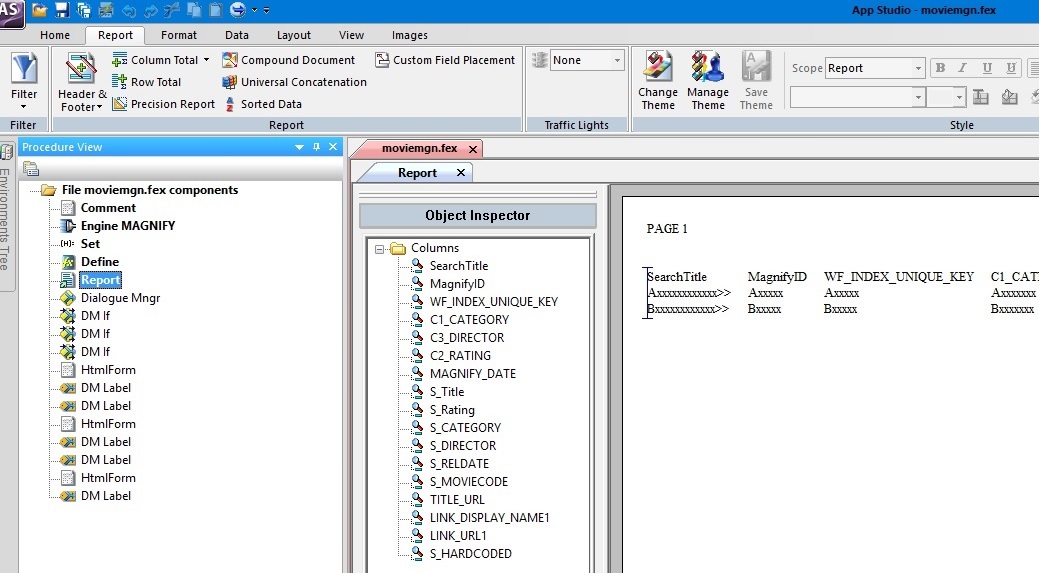
- Double-click the Engine MAGNIFY object in the Procedure View panel.
The MAGNIFY search engine properties dialog opens, as shown in the following image.
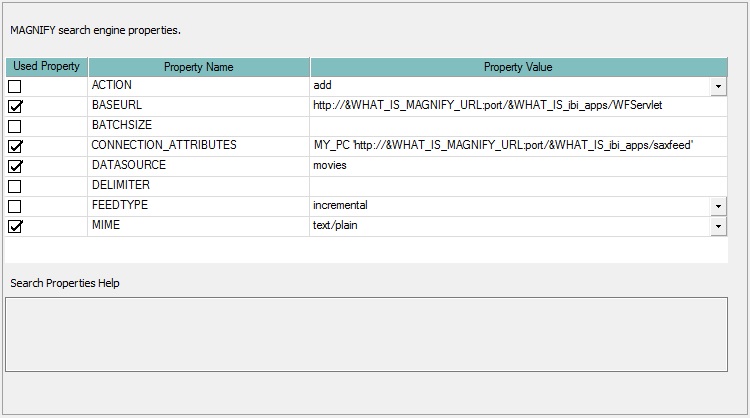
Review the following properties:
- CONNECTION_ATTRIBUTES. Magnify Search location.
- BASEURL. WebFOCUS procedure URL.
- MIME. Document type.
- DATASOURCE. Magnify Search index library destination directory.
- Double-click the Set object in the Procedure View panel.
The Set dialog opens, as shown in the following image
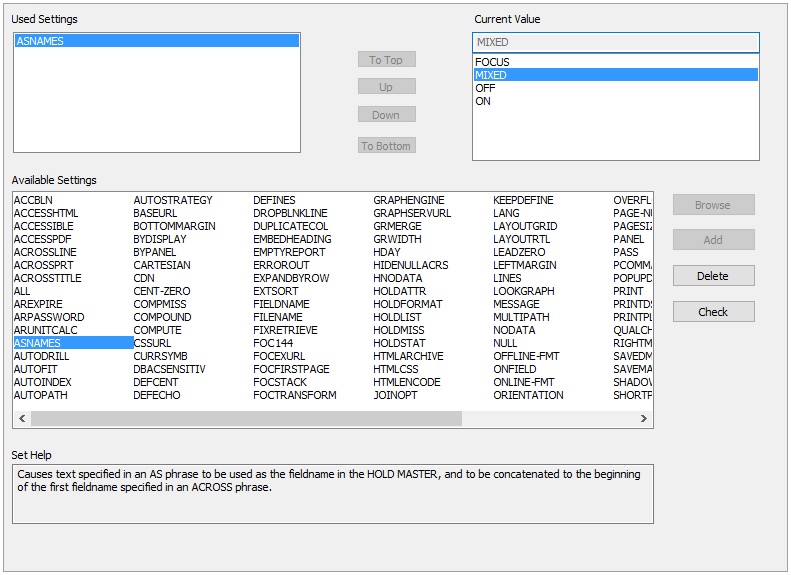
Note: You must set the ASNAMES setting to MIXED in order to preserve case-sensitivity.
- Double-click the Define object in the Procedure View panel.
The Define dialog opens, as shown in the following image.

Review the following defined fields:
- S_HARDCODED. Optional hard-coded content to be included with the data being indexed. This can include values that are not otherwise found in the original data.
- TITLE_URL. One or more fields to dynamically build the main title drill-down link of each search result.
- LINK_DISPLAY_NAME1. One or more fields used as the string name for the first additional link.
- LINK_URL1. One or more fields to dynamically build the first additional drill-down link for search result.
- Double-click the Report object in the Procedure View panel and change the output format.
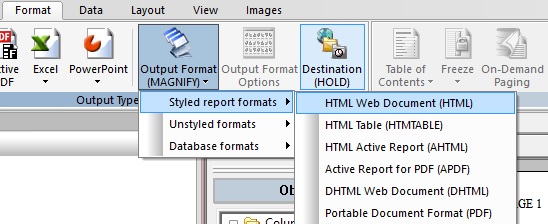
- Click the Format tab.
- Select the Output Format drop-down.
- Expand the Styled report formats menu and select HTML Web document (HTML), as shown in the following image.
- Click Save and then click Run from the Quick Access Toolbar.
- Review how the data
is modeled. Notice what mix of fields are used to define various
Magnify Search elements by the naming conventions used in the column titles.
Note: The column naming conventions are discussed in more detail in Indexing the Car File
- Scroll to the rightmost
side of the report to see all column names, as shown in the following
image.
- Close the browser window that is running the report.
- Right-click the moviemgn.fex file and select Open from the context menu, as shown in the following image.
- Index the Movie File
with Format Magnify.
- Double-click the Report object in the Procedure View panel and change the output format.
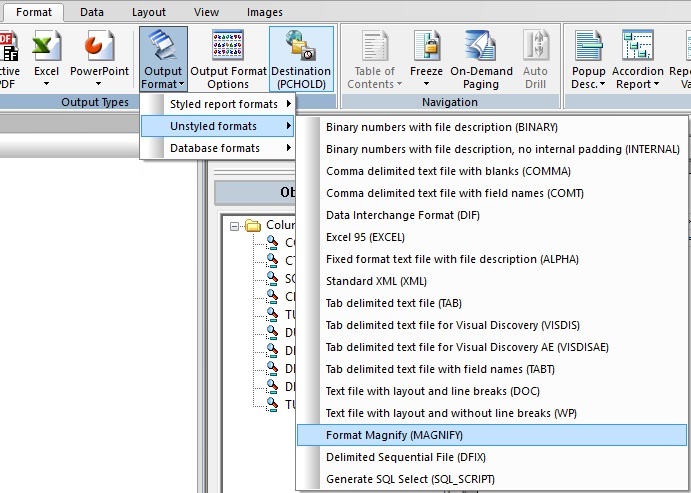
- Click the Format tab.
- Select the Output Format drop-down.
- Expand the Unstyled
formats menu and select Format
Magnify (MAGNIFY), as shown in the following image.
- Click Save and then click Run from the Quick Access Toolbar.
-
Confirm that there are no errors, such the one shown in the following image. Note that upon execution, the Reporting Server will process the request by transforming the report output into the Magnify Search feed protocol.
- Close the browser window that is running the report.
- Close the Procedure View panel.
- Double-click the Report object in the Procedure View panel and change the output format.
- Review the search-based
application generated.
- Open a web browser.
- Confirm that the collections.xml file is set accordingly.
- Navigate to the Magnify
search page:
http://host:port/wfcontext_root/search
where:
- host:port
-
Is the machine name and port number where WebFOCUS is installed.
- wfcontext_root
-
Is the WebFOCUS application root.
Note: Sample or default URLs are for informational purposes only and may not resolve correctly, if at all.
To return to the out-of-the-box Magnify Search configuration, restore the original version of the collections.xml file. Restart the application server or use the Refresh Collections option in the Magnify Search administration console.
Go to:
http://localhost:8080/ibi_apps/search
- Perform a search
test by typing movies in the Search box and clicking Search as
shown in the following image.
- Review the results returned and identify how the data from the procedure has been applied to the Magnify Search interface.
- Close the browser window.
| WebFOCUS | |
|
Feedback |