Creating Shortcuts and URLs
|
Topics: |
The use of shortcuts and URLs can simplify workflow and provide additional context to your analytics. The following sections explain how to use shortcuts and URLs and describe how to create these content items in your repository.
Creating Shortcuts
|
How to: |
You can create shortcuts to repository files and Master files. Once a shortcut to a Master file is created, you can use it to build visualizations and reports. Once a shortcut to a repository file is created, you can copy, delete, edit, and run this item. You can also publish and share your shortcuts to make them available for other users and groups.
Procedure: How to Create a Shortcut to a Repository File
- Select the domain or folder where you want your new shortcut to reside.
- On the
actions bar, click Shortcut
 .
. The New Shortcut dialog box opens.
- Click Browse.
The Select dialog box opens.
- Using the Breadcrumb Trail, navigate to
the resource of your choice, such as folder, report, chart, or visualization,
and then click
Select.
The Title field populates with the name of the original item, and the word Shortcut. For example, if you create a shortcut to the item Chart1, the shortcut title will be Chart1 - Shortcut.
- Optionally, you can edit the Title and populate the Summary field.
- Click OK.
The new shortcut appears in the selected location.
Procedure: How to Create a Shortcut To a Master File
- Select the domain or folder where you want your new shortcut to reside.
- On the
actions bar, click
Shortcut .
The New Shortcut dialog box opens.
- Click the Master File radio button, as shown in the following image
- Click
Browse.
The Select dialog box opens.
- Navigate to
the Master file you to which you want to create a shortcut, and then click
Select.
The Title field populates with the name of the original item.
- Optionally, edit the Title and populate the Summary field.
- Click OK.
The new shortcut appears in the selected directory.
Creating URLs
|
How to: |
You can create URLs to webpages and store them within the repository. These URLs can further enhance analytics, by providing an additional interactive context to your data. You can run a URL from the Home page, use it in a portal, or add it to a personal page. If your URL is optimized for use in an iFrame, you can embed it within a container on a page. You can also publish and share a URL to make it available to other users and groups.
Procedure: How to Create a URL
- Select the domain or folder where you want your new URL to reside.
- On the
actions bar, click URL
 .
.The New URL dialog box opens.
- Type a Title for the URL, type the address of the URL, and then click OK.
The URL now appears in your selected location.
Procedure: How to Embed an iFrame-Optimized URL in a Portal or Page
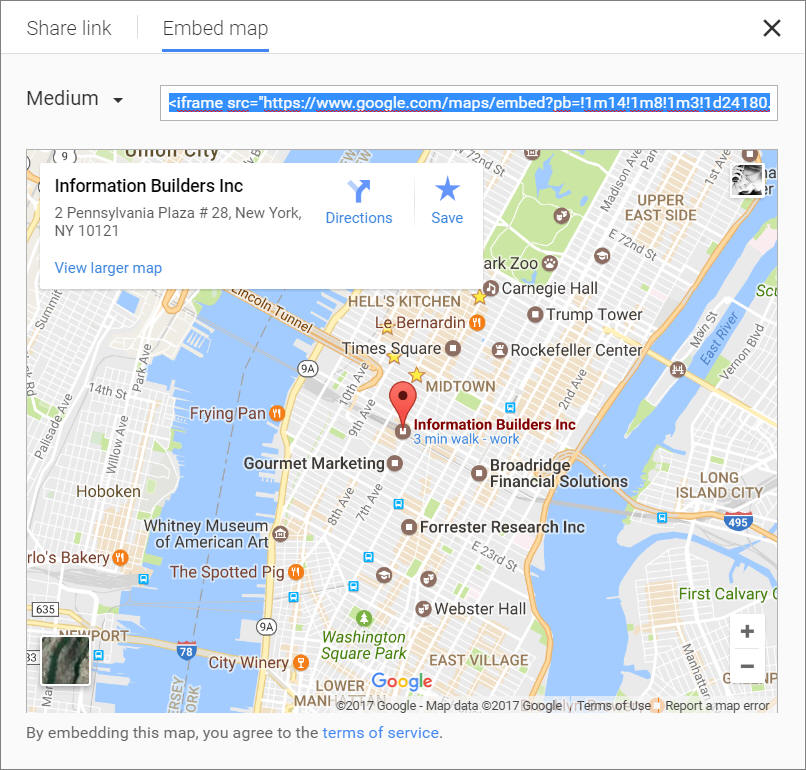
- Copy an iFrame-optimized URL from the web, as shown in the following image.
- Select the domain or folder where you want your new URL to reside.
- On the
actions bar, click URL .
The New URL dialog box opens.
- Populate the Title field, and paste the copied URL in the URL field.
- Remove any iFrame-related syntax that surrounds your URL. An example of these are shown in the following images.


- Click OK to close the New URL dialog box.
Your URL item is complete and ready to be displayed in a portal or page.
- Using WebFOCUS Designer or the Portal Designer, add your new URL to a portal or page.
The URL content displays within the container, similar to other content items, as shown in the following image.
| WebFOCUS | |
|
Feedback |