The Data Assist tool (also known as the Synonym Editor) provides an environment where metadata (synonyms) and Custom Copy jobs can be created and/or changed. When the Synonym Editor is first entered (using New Synonym or opening an existing synonym), the display will show the Data Assist/Categorization window.
To open Data Assist, on the Applications tab of the Web Console right-cllick a synonym and select Open, or click the Data Assist button on the ribbon and select New Data Assist, as shown in the following image.

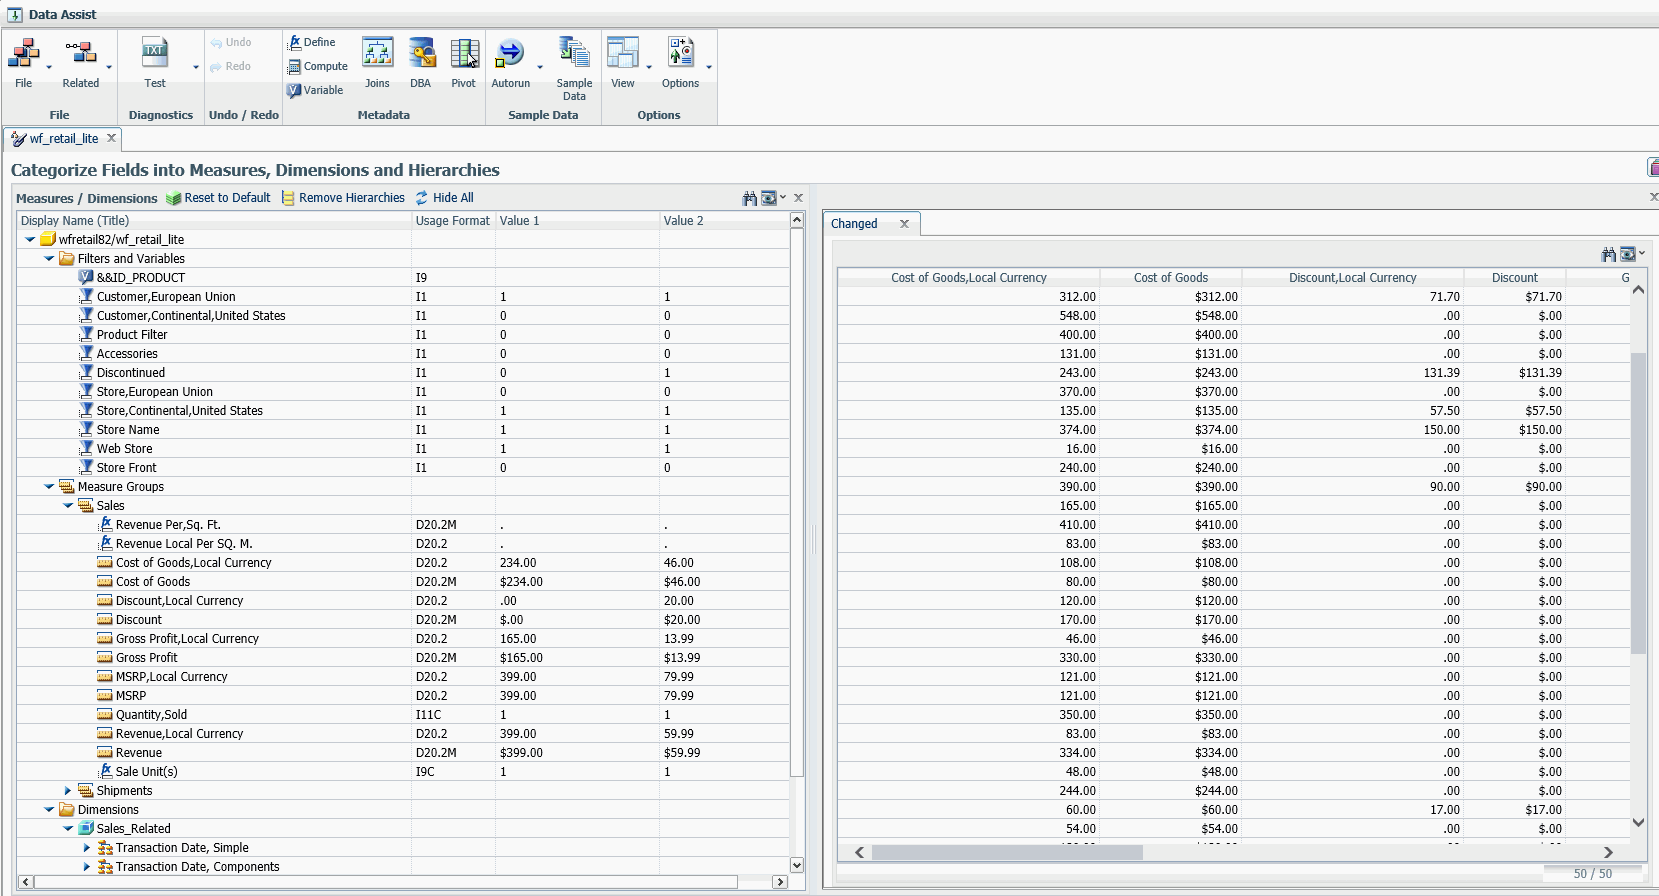
The following image shows the Data Assist page.
Data Assist/Categorization Window
This window is the point of sharing between the SQL Wizard, the Upload Wizard, and Data Assist. It is divided into two main areas:
- The Ribbon, as shown in the following image.

- The Measures and Dimensions categorization window which has
one or more tabs showing the following windows:
- The Table/Column left window (If a Dimension View (DV) is present in the current synonym tab, then this window will not be shown).
- The Measures / Dimensions middle window.
- The Output/right window. This window shows sample data in a single or multiple tabbed window. The output window format is controlled by the Autorun and View options on the ribbon.
Most of the ribbon and window functions are described in Using the Wizards. This topic describes components that apply to the Synonym Editor only.
File
The File button is used to open, close, and save files in one session. Files are shown using tabs, with the current file tab shown in front and with its synonym name highlighted. The following options are available:
- New. Has the following functions.
- Custom Copy
- Filter File
- Upload File
- Open. Allows for the selection an existing synonym to open and add to the tool.
- Switch Files. Provides a submenu with a list of open tabs for selection.
- Save. Saves any changes to the current tab.
- Save all Files. Saves any changes to all tabs.
- Save As. Allows the user to save any changes to the current active tab to a new location/new name.
- Close. Closes the current tab. If changes are pending, you are prompted to save or discard them.
- Close Tool Retaining Context. Closes all open tabs so that you can resume at a later time. Changes are not saved to disk but will be available if the Editor is opened again in the same browser session. If the browser is closed, any changes will be lost.
Related
Various options are available depending on the active tab contents.
- Custom Copy. For the Synonym tab, opens the Custom Copy tab for the synonym in the active tab.
- Open Source Synonym. For the Custom Copy tab, switches to the tab of the source synonym.
DBA
This function enables you to add DBA attributes to a synonym.
BV
This function enables you to edit a Business View. It is only available if you selected (Yes) in the Synonym Editor section of the Options button.
Synonym Editor Options
- Support extended options. If selected (Yes), the Sort Object and Styles options appear on the Synonym Editor Insert menus. Default is No.
- Enable Quick Copy from inside Synonym Editor. When set
to Yes, a new group is added on the right-hand side of the ribbon.
This new Load group has two buttons (a third
will be displayed once data is loaded to target), which allows the loading
of the current active tab to be uploaded to a target environment.
Default is No.
- Target Options. Provides the following
options for the target environment.
- Load Option .
This has four options and depending on which is selected, the other
options available will change.
New. Creates a new table in the target environment.
New via SQL Script. Create an SQL script file and associated synonym for the current active tab. No data is uploaded when the Load button is clicked. This SQL script file can be used in a JOIN or cluster synonym so that at the run time of a request, the SQL script will be used as a derived table (syntax FROM (SELECT......)) in the SQL that is sent to the RDBMS.
New via SAME_DB. Creates a new table in the same environment as the current active tab.
Append Existing Data. Adds the data from the current active tab to the target synonym.
- Target Adapter. Select a configured adapter from the list..
- Target Connection. Select a connection from the list. The list will change depending on the Target Adapter selected.
- Target Synonym Application. Select (or enter) an application name where the created synonym will be stored. A file picker window will be displayed if the ellipses is clicked.
- Target Synonym. Supply the name of the synonym to be created. Default is the current synonym name plus _t.
- Target Table Name. Supply the name of the target table to be created. Default is the current synonym name.
- Bulk Load. If checked, a native bulk load utility will be used to load the target table.
- Overwrite Existing Synonyms. If the Target Synonym above already exists, overwrite it. This is the default. If deselected and the synonym name exists, an error message will be issued when the Load button is clicked
- Load Option .
This has four options and depending on which is selected, the other
options available will change.
- Target Options. Provides the following
options for the target environment.
- Load Data. Performs the load action for the selected Load Option.
- Show Loaded Data. Shows sample data of the loaded table in the output window.
Segment
- Open Base Synonym. Cluster only if base synonym is not already open in the synonym editor. Opens the selected "By Reference" source synonym in a new tab.
- Delete. Removes the selected object.
DBA
Provides a dialogue to create DBA security statements.
There are four types of access: Read, Read Write, Update, Noprint, which can be viewed using the User context menu.
Each may have four types of restrictions: Field, Value, Segment, Noprint, which can be viewed using the access type context menu.
When adding a restriction on Field, Segment, or Noprint, the first field will be added by default. The first field can be replaced by dragging any selected field from the left tree to the given restriction folder.
When adding a value restriction, a field needs to be dragged to create the proper filter. This filter can be changed in two ways. Properties allows you to edit the filter for the same field. Drag and drop of a new field starts a new filter sequence.
The window that is displayed has two main areas:
- Object selection/left window. Displays a tree of
objects that can be used in the DBA Statement window.
This window also has the following function icons/action button
- Find. A text box is displayed so a value to be searched for can be input.
- View. Has the following drop down options (Not all may
be shown, depends on contents of window)
- Expand All
- Collapse All
- Choose Columns. Allows the user to select the columns that are shown in the window.
- Reset to defaults
- Hide. Left window only. This X icon, when clicked, will hide/collapse the left window. To show the left window again, click the right most icon of the group of four in the top right.
The right-click context sensitive option Sample Data displays sample data for the selected object
- DBA Statement. right window. Enter or use the calculator
buttons to build the expression for the virtual or calculated field.
This window also has the following action buttons.
- Initialize DBA
- Undo. The contents of the expression window are deleted. A blank expression will still validate as valid and will result is a object equal to nothing.
- Redo
- Action Buttons. These buttons have the following actions.
- Example. Shows valid syntax for the function with expected results.
- OK. Accepts the values and returns to the expression window.
- Cancel. Returns to the expression window with values unchanged.
- OK. Returns the new object for use in the previous window.
- Cancel. Discards the new object and returns control to the previous window.