Testing the SQL Statement
|
How to: |
Once you have created your SQL calculation, you should test it to see if you are selecting the data you need. The SQL object enables you to retrieve a limited set of rows and review them as part of the process of designing your data flow.
Note: You can set the number of rows retrieved from the Options dialog box in the Run Options pane. The default is 50 rows.
You can also edit the SQL code.
Tip: You can move SQL SELECT statements between applications by copying and pasting.
Procedure: How to Test the SQL
In the data flow workspace:
Double-click the SQL object and click the Test SQL Statement button in the upper-right corner of the Column Selection dialog box.
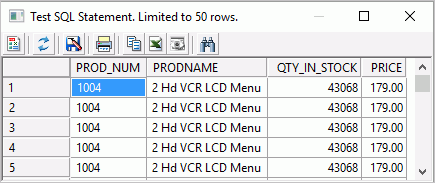
The Test SQL Statement Columns dialog box opens, which shows the sample data for the SQL object, as shown in the following image.


Note: You can also test the SQL by right-clicking the SQL Object and clicking Expand. Click the Test SQL tab to see a sample of the data.
Procedure: How to Test the SQL From the SQL Statement
- Right-click the SQL object
and click SQL Statement.
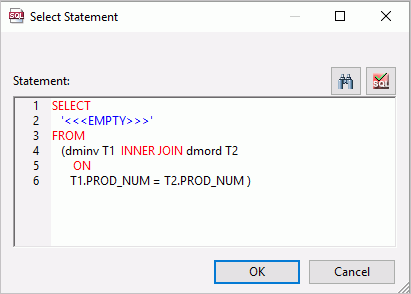
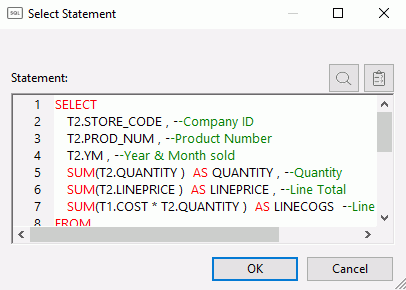
The Select Statement dialog box opens, as shown in the following image.


The Select Statement dialog box has the following buttons:
- Find. Searches for a text string in the SELECT statement.
- Test SQL Statement. Tests the SELECT statement.
For more information on the shortcut menu options in this dialog box, see Text Editor Context Menu.
- Click
the Test SQL Statement button in the upper-right
corner.
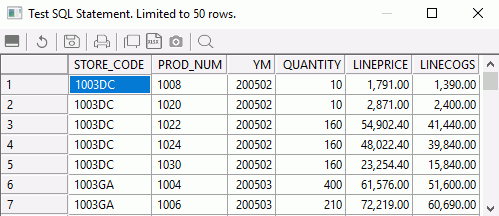
The Test SQL Statement dialog box shows a sample of the data.
Note: You can also test the SQL by right-clicking the SQL object, selecting Column Selection, and clicking the Test SQL Statement button in the Column Selection dialog box.
There is also a Test SQL Statement button in the Filter Calculator and the Sort Columns dialog box.
Procedure: How to Edit the SQL Statement
You can edit the generated SQL manually. If you do, the interface may redraw the SQL object based on the revised SQL when it is reloaded. If the interface is unable to redraw the SQL object, the SQL object will be labeled Custom SQL.
- In the
data flow workspace, right-click the SQL object
and click SQL Statement.
The Select Statement dialog box opens.
- Make your changes to the SQL statement.
- Click OK to save your changes.
Note: The SQL command must conform to the SQL supported by the iWay server. For more information on using a dialect SQL specific to a relational database system, see Creating a DBMS SQL Flow.
| WebFOCUS | |
|
Feedback |