Creating Outbound Messages
- Log in to your Salesforce.com account.
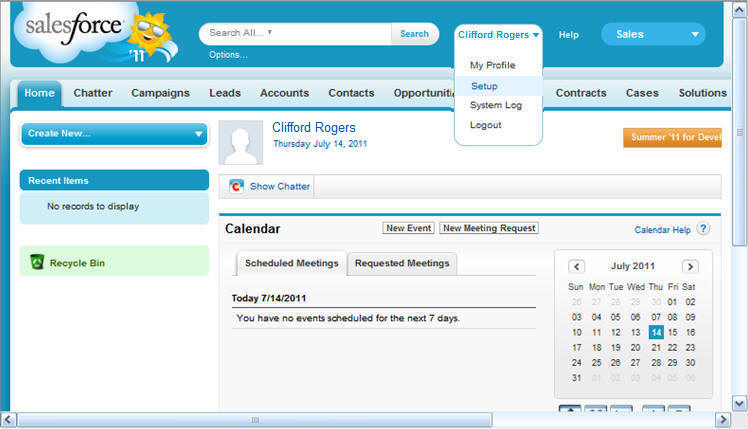
- Click the drop-down menu on the top of the screen that shows
your name and then Setup, as shown in the
following image.
The Getting Started page opens.
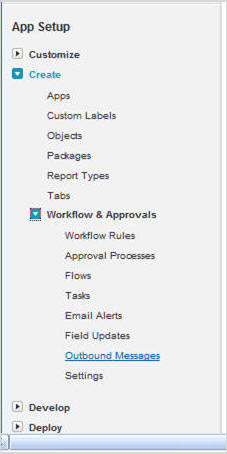
- In the App Setup tree, expand Create and
then Workflow & Approvals. Click Outbound Messages,
as shown in the following image.
Note: If you already defined an outbound message for your workflow, you can choose the Existing Option action.
The All Outbound Messages window opens.
- Click Create New.
The Step 1 of the New Outbound Message window opens.
- Select Account from the Select Object
drop-down menu, as shown in the following image.
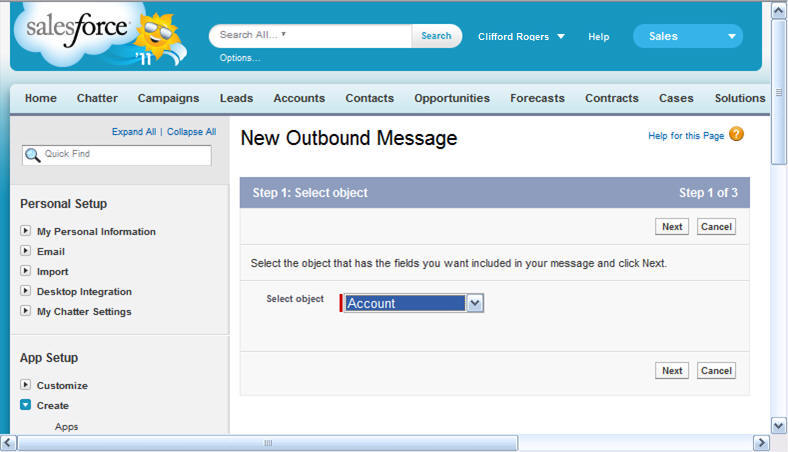
Click Next.
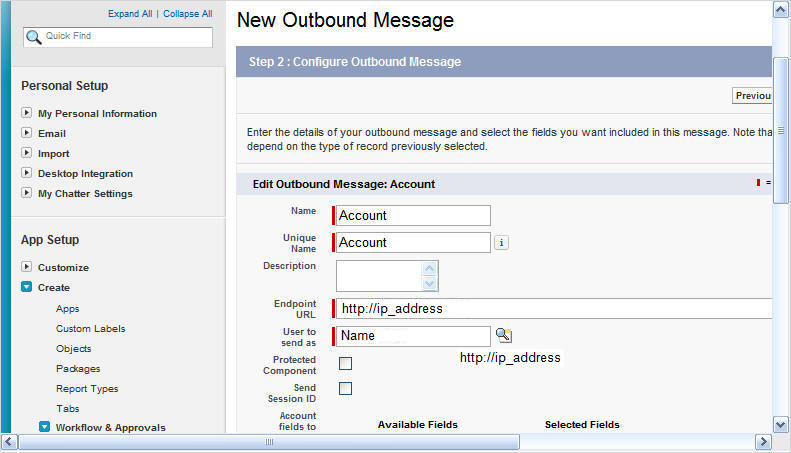
- In step 2 of the New Outbound Message window, enter the Name,
Unique Name, Endpoint URL, and User to send as information, as shown
in the following image.
- Save these changes.
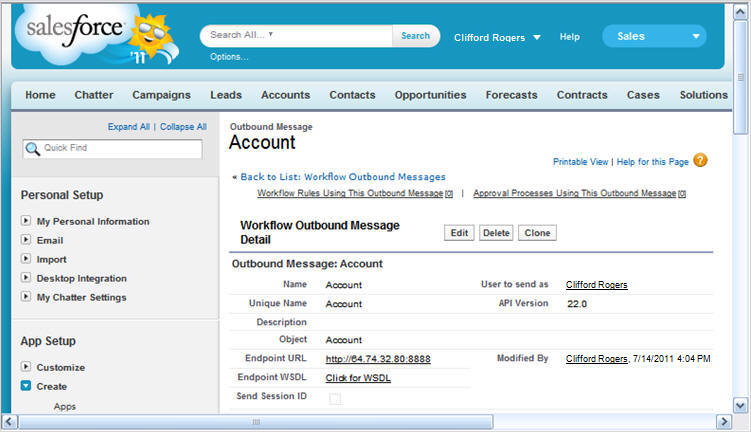
Review the outbound message details, as shown in the following image.
| WebFOCUS | |
|
Feedback |