Schedule and Report Tracing
|
Topics: |
The Distribution Server schedule tracing is enabled by setting Schedule Trace to SCHEDULE (or to SCHEDULE & REPORT if you also want to enable report tracing) in the General tab of the Console Configuration tab.
ReportCaster also provides the ability to enable SCHEDULE or SCHEDULE & REPORT tracing on a per schedule basis when dynamically running the schedule on demand. When you run a schedule, the Schedule Trace setting specified in the ReportCaster Configuration tool appears along with options that enable you to change the setting for this particular schedule.
Trace Files Related to Specific Jobs
|
Reference: |
When the Schedule Trace parameter is set to SCHEDULE, ReportCaster produces trace files containing ReportCaster Distribution Server information related to the specific job or jobs being run. Each job creates the following trace files in the /ibi/WebFOCUS82/ReportCaster/trc/Jobid directory, each with a unique Job Process ID (Jobid):
- Jobid.trc (for example, J0ud2a6kqk01.trc). Contains all information related to the execution of a job. This includes information about the scheduled procedure, distribution information, and the log creation and its contents. When SCHEDULE & REPORT traces is selected, this file also contains the report sent back from the Reporting Server.
- procedure.log Contains distribution information, report parameters (if any), pre-processing and post-processing steps (if any), procedure code (if Managed Reporting), or an -INCLUDE FOCEXEC (if Server Procedure).
- Jobid.err. If there is a processing error, ReportCaster generates a jobid.err file containing information about why the report was not distributed successfully. Information Builders recommends searching for *.err files when viewing trace files.
- DistRun.trace Contains IBFS trace information.
- DistRun.html Contains an .html version of the report.
- session.log Contains information about the IBFS session.
Note: You can identify the Job Process ID of the target job by running a log report. For more information about log reports, see Log Reports or Job Logs. A Job Process ID begins with a J and is followed by a series of random digits and lowercase letters.
Example: Using the Schedule Trace File
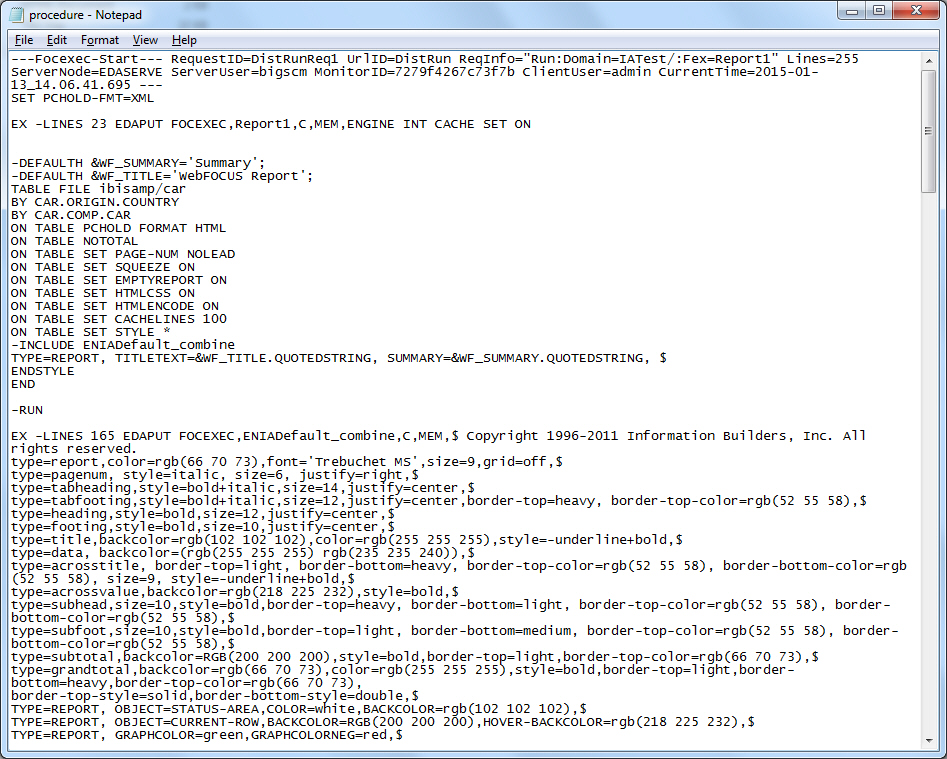
The following excerpt of a schedule trace file is for job ID reportcaster.log_2011-12-20.log. The reportcaster.log_2011-12-20.log file shows the date and time that the worker thread began, the parameters associated with the scheduled job, and the connection information for the Repository.
Reference: Procedure Log File
The following Schedule trace file shows the procedure associated with the procedure log file:
Trace Error Files
When ReportCaster encounters an unexpected error or abend, the following trace error files are created:
- console.err when the console terminates.
- disp.err when the dispatcher terminates.
- main.err when the main thread terminates.
- reader.err when the reader terminates.
- Jobid.err when there is a job processing error.
Schedule Trace File Clean Up
When the Schedule Trace setting is turned OFF, the files and folders in the Distribution Server /temp directory, and the schedule trace files J*.* in the /trc directory, are deleted when you start the Distribution Server. Therefore, if you want to keep any of these files, you must either back them up or make sure that schedule tracing is enabled (meaning that Schedule Trace is set to either SCHEDULE or SCHEDULE & REPORT in the ReportCaster Server Configuration tool).
Resource Analyzer Support
ReportCaster supports Resource Analyzer. When ReportCaster runs Server Procedures or a WebFOCUS Report (Managed Reporting), it sends commands to the Reporting Server. Resource Analyzer then retrieves these commands for the purpose of monitoring the resources used to create the output to be distributed by ReportCaster. If you are not using Resource Analyzer, the commands are ignored by the Reporting Server.
You can view these commands in the schedule trace file for the specific job (provided that schedule tracing is enabled in ReportCaster).
Downloading ReportCaster Job Trace Files
|
How to: |
After you run a schedule, or use the Purge Job Logs, Purge Library, or Delete Schedules utility, you can select the corresponding job log stored in the ReportCaster Console to download the trace files that were created by the job.
Procedure: How to Download ReportCaster Job Trace Files
- Run a schedule, or use the Purge Job Logs, Purge Library, or
Delete Schedules utility.
Note: To receive trace files for a ReportCaster job, traces must be enabled for the job.
For more information, see the following topics:
- Navigate to the ReportCaster Console. On the ribbon, in the Show group, click the Job Log button.
- In the Job Logs panel, choose the folder that contains the job
log you wish to select.
The job logs appear in the right panel.
- Click a job log.
- On the ribbon, in the Manage Job Logs group, click the down
arrow on the
View Trace button.
The Download Trace Files menu option appears.
- Click the
Download Trace Files option.
The Windows Save dialog box displays, from which you can save the trace files to your machine. The Job Id of the log becomes the name of the zip file to be opened or saved.
| WebFOCUS | |
|
Feedback |